A Spring project is here!
Turn this maple bed .....
And this maple armoire.....
into something spectacular! Maybe a black antiqued finish?
This furniture is circa 1999 people. 1999! (Boy, that will make ya feel old, huh?!) Yes, in 1999, I rather liked this maple look. Now .... not so much. However, I do like the style. Just a little paint and sanding may do the trick.
I will especially have to sand these parts ....
My boys decided to unleash their artistic abilities on my bed with the point of a geometry compass .... hmmmm. No, these are not their initials. This one above is "APSW" ... also know as "Andrew Pirranah Snow Wolf." HAHAHA! I have no idea what that means?
Where was I when they were doing this? I was here ... in my second home. I really should put a TV in here.
So, here is the scoop - I talked with my ever trusting paint store genius, Todd, and got the low down on exactly what I needed to do. There are 2 options.
Option 1(This one takes longer):
Sand it a lot
prime it and wait for it to dry
paint it
Option 2:
Paint it with a premium paint that has a primer built in and NO SANDING!!! (except for the initials carved everywhere)
Uh, I am definitely doing this one. Yes, it costs just a bit more in the paint department, but is totally worth it in the time department.
My plan is as follows:
Take the bed apart
Set up shop in the garage
Clean the heck out of the wood so sanding is not required!
Paint the bed first (next week, paint the armoire)
Let it dry
Sand off some of the edges with a sandpaper block to antique the finish (If you decide to do this, Todd, aka paint genius, says you will need to get an oil based paint so you can sand the edges).
I am starting the project soon!
Spring is here in Georgia and it is time to get outside, enjoy the weather and paint this atrocity!
Check in to see the progress. Join me with your piece of furniture you want to refinish!
Amy
Showing posts with label Projects. Show all posts
Wednesday, March 2, 2011
Thursday, February 24, 2011
Cheap dresser re-Do
Talkin about a cheap dresser .... this one takes the cake! I think it belongs in an office.
It lived in my sister's attic for 5 years. Now I know why! UGLY grey speckled laminate dresser - I think the previous homeowners left it there. :) It weighs a TON.
However, times are tough in this recession and I needed a dresser for my 3 year old, Brady. His clothes are in a plastic 3 stackable drawer system from Target, in his closet. Yes, a good idea, but need more room. Really? Can I make this thing look better?! It will be a stretch.
Lets see .....
This is after 2 cans of paint. As you can see on the right side .... it looks like camofladge pattern. Must get more paint!
I put the knobs on an egg carton and sprayed them several times at several different angles until they looked good and covered well.
I measured corner to corner, at an angle, to find the center. Then, I predrilled holes in the drawer and screwed in the knobs.
This finished product is better that the previous product. However, acrylic enamel will have to be brush painted on top of this if I really want it to be perfect. That will come along in the Spring. For now, this works great for Brady's room. We have somewhere to put his clothes that is much better than 3 drawer plastic bins.
Amy
p.s. The puppy has a name! RENNIE - I have 4 boys who L.O.V.E. the University of Georgia Bulldogs football. Rennie Curran played for UGA.
Thursday, January 13, 2011
How to GLAZE painted furniture
After being trapped inside from the snow/ice storm in Georgia for the last 3 days (Yeah, Georgia is not prepared for winter weather, embarrassing), I decided to show you how to glaze a table. I previously painted this side table with Benjamin Moore #1564 Beach Glass in a flat finish.
I used a can of glaze from a cabinetry shop .... but you can buy glaze at any home improvement store.
Dip your brush, pull the brush up the side of the can to minimize amount of glaze on your brush, and paint the entire piece of furniture.
Wipe off the glaze with a cloth or paper towel. Leave extra glaze in the cracks and corners for an antiqued look. I like to wipe the glaze in one direction then I wipe it in the opposite direction for more texture. If it is not dark enough for you, let it dry a bit (10 min) and go back over using the same process.
As you can see below, the brown glaze gives a small hint of color in several directions.
Let the glaze dry overnight. Next step is laquer or poly. I used a laquer I had from the cabinetry shop ... once I started it became too sticky. I suggest using a clear poly instead of laquer. You can get poly at any home improvement store. Paint it on in a thin layer and let it dry overnight. The poly will protect your piece from drink circles and scratches and will give it a slight sheen.
Easy to do ... go paint and get crafty.
Amy
Tuesday, November 23, 2010
Turkey Pumpkin
Happy Turkey Day week! This is a GREAT craft and decoration item for your Thanksgiving table. It is not only cute, but easy for your little ones to make.
(Props to our 5 yr old's Sunday School teacher for this one:)
Simple construction paper .... cut a head and feathers ... write down what they are "thankful" for.
I think he had some help on this one ... what happened to Dad? He is more thankful for Santa this year than Dad! LOL
Toothpick inserts into pumpkin. Feather is scotch taped on to toothpick.
Simple and cute. Now, go get crafty with your little Turkeys!
Amy
(Props to our 5 yr old's Sunday School teacher for this one:)
Simple construction paper .... cut a head and feathers ... write down what they are "thankful" for.
I think he had some help on this one ... what happened to Dad? He is more thankful for Santa this year than Dad! LOL
Toothpick inserts into pumpkin. Feather is scotch taped on to toothpick.
Simple and cute. Now, go get crafty with your little Turkeys!
Amy
Monday, November 15, 2010
What should I make for the class art project?!
Hey Crafties! Did you do your Fitness Friday workout???
Newest obstacle .... As the all unknowing Grade mother, I was thrown into a class art project with one week to figure out what to do, get the students to help make it, and turn it in. WHAT?!
Of course I was panick stricken ... ackkkhhh!
So my brain started to churn and I remembered that my sister painted some stools for my boys' rooms several years ago. They are precious! Ah Ha ... thats a great idea. Paint a stool. Now, what can I paint that 26 students can say they helped paint? Hmmmm ...... each student can use their fingerprints .... fingerprints can make bugs .... fingerprints that are ants .... ants like picnics .... ants like sugar.... sugar is sweet .... sweet is watermelon! YEAH!!! That is it!!!!!!
I have my idea. Each kid brought $1 for the project. I was able to buy a stool at Target and lots of acrylic gloss paint from WalMart.
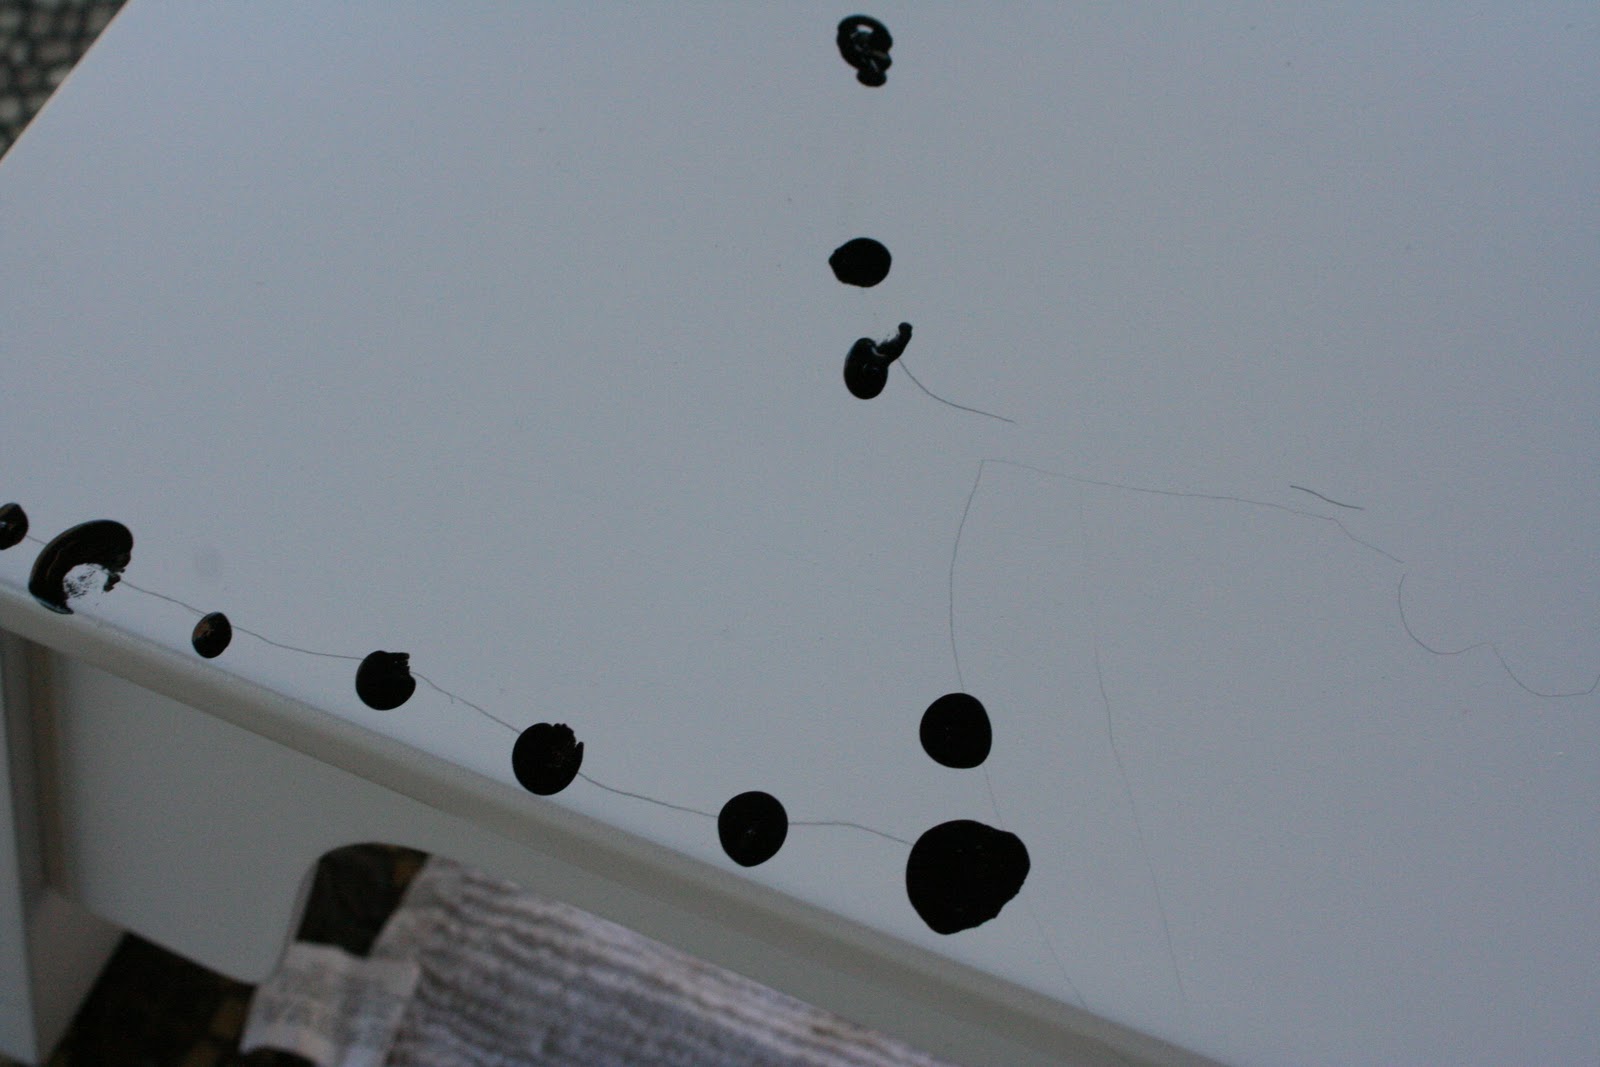
I sketched the watermelons and ant lines on the stool with pencil. I wanted the students to see where the ants should be on the stool ... so I drew a line where they would put their fingerprints. I had each student dip their pinky finger in black acrylic gloss paint and paint 2 of their fingerprints on any of the lines.
As you can see, some of the ants are A LOT bigger than others. LOL. That is ok!
Paint your initial layer of color, let it dry, repaint more layers until you like the consistency.
I added an ant hill on one side.
Add 8 tiny legs on each fingerprint for the legs. I used the Sharpie here too.
Add a few streaks of green and black for some grass for the ant hill.
Add some black ovals in your watermelons for seeds. Erase your pencil lines!
I sprayed it with Krylon Spray Paint Clear Gloss so the acrylic paint would not chip off.
Maybe their class stool will get a good bid at the art auction!
Amy
Newest obstacle .... As the all unknowing Grade mother, I was thrown into a class art project with one week to figure out what to do, get the students to help make it, and turn it in. WHAT?!
Of course I was panick stricken ... ackkkhhh!
So my brain started to churn and I remembered that my sister painted some stools for my boys' rooms several years ago. They are precious! Ah Ha ... thats a great idea. Paint a stool. Now, what can I paint that 26 students can say they helped paint? Hmmmm ...... each student can use their fingerprints .... fingerprints can make bugs .... fingerprints that are ants .... ants like picnics .... ants like sugar.... sugar is sweet .... sweet is watermelon! YEAH!!! That is it!!!!!!
I have my idea. Each kid brought $1 for the project. I was able to buy a stool at Target and lots of acrylic gloss paint from WalMart.
I sketched the watermelons and ant lines on the stool with pencil. I wanted the students to see where the ants should be on the stool ... so I drew a line where they would put their fingerprints. I had each student dip their pinky finger in black acrylic gloss paint and paint 2 of their fingerprints on any of the lines.
As you can see, some of the ants are A LOT bigger than others. LOL. That is ok!
Paint your initial layer of color, let it dry, repaint more layers until you like the consistency.
I added an ant hill on one side.
Put a small black dot on each fingerprint for the ant's head.
Each head gets 2 small antenae with 2 small dots on top of each head. I used a fine tip black Sharpie marker. Add 8 tiny legs on each fingerprint for the legs. I used the Sharpie here too.
Add a few streaks of green and black for some grass for the ant hill.
Add some black ovals in your watermelons for seeds. Erase your pencil lines!
I sprayed it with Krylon Spray Paint Clear Gloss so the acrylic paint would not chip off.
Maybe their class stool will get a good bid at the art auction!
Amy
Monday, November 8, 2010
"Hand-me-down" sweatshirt makeover!
With 4 boys, I LOVE hand-me-downs. I have several friends with older boys who send their clothes my way ... thank you, thank you, thank you!
The challenge is to make it seem new to my boys. Yes, they enjoy the "new" clothes, but sometimes would like them to look a little different. HENCE .... iron on patches!!!
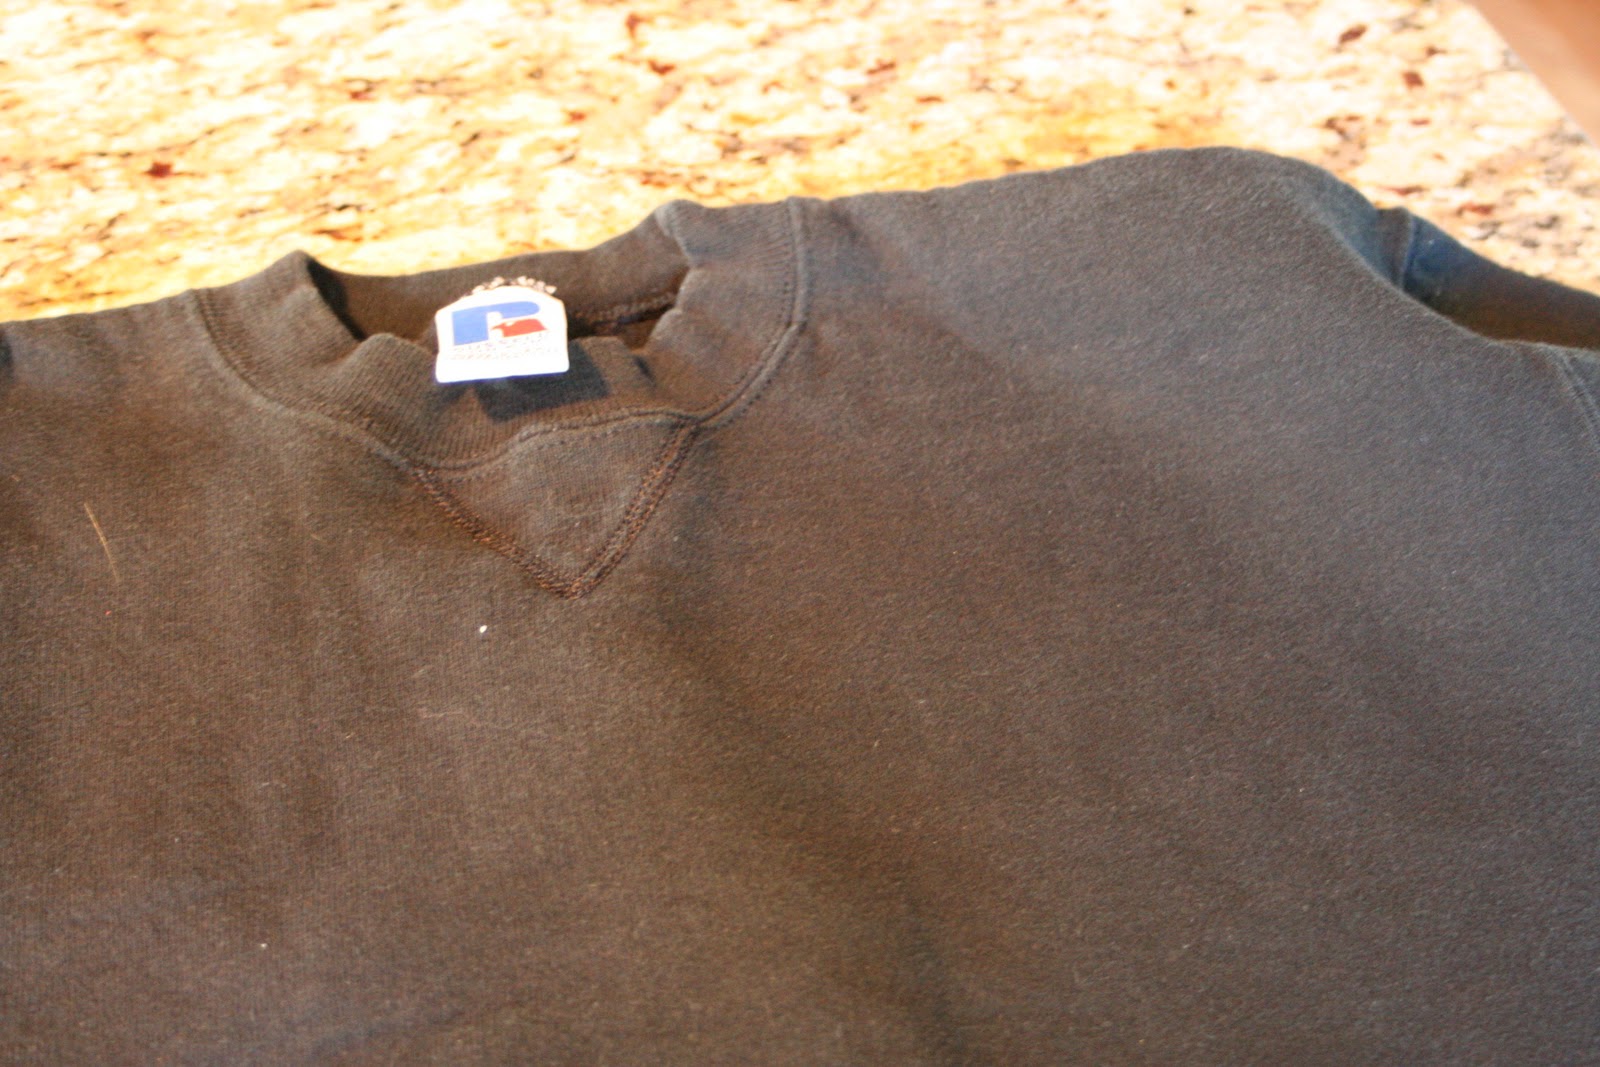
I have some really great sweatshirts, Russell, that are simple and plain.
I went to Michaels and bought 2 packs of iron on patches @ $2.99 per pack. I mean ... really?! S.O. Chaaaa-eeeap!
This is so very simple. Heat your iron to the hottest setting
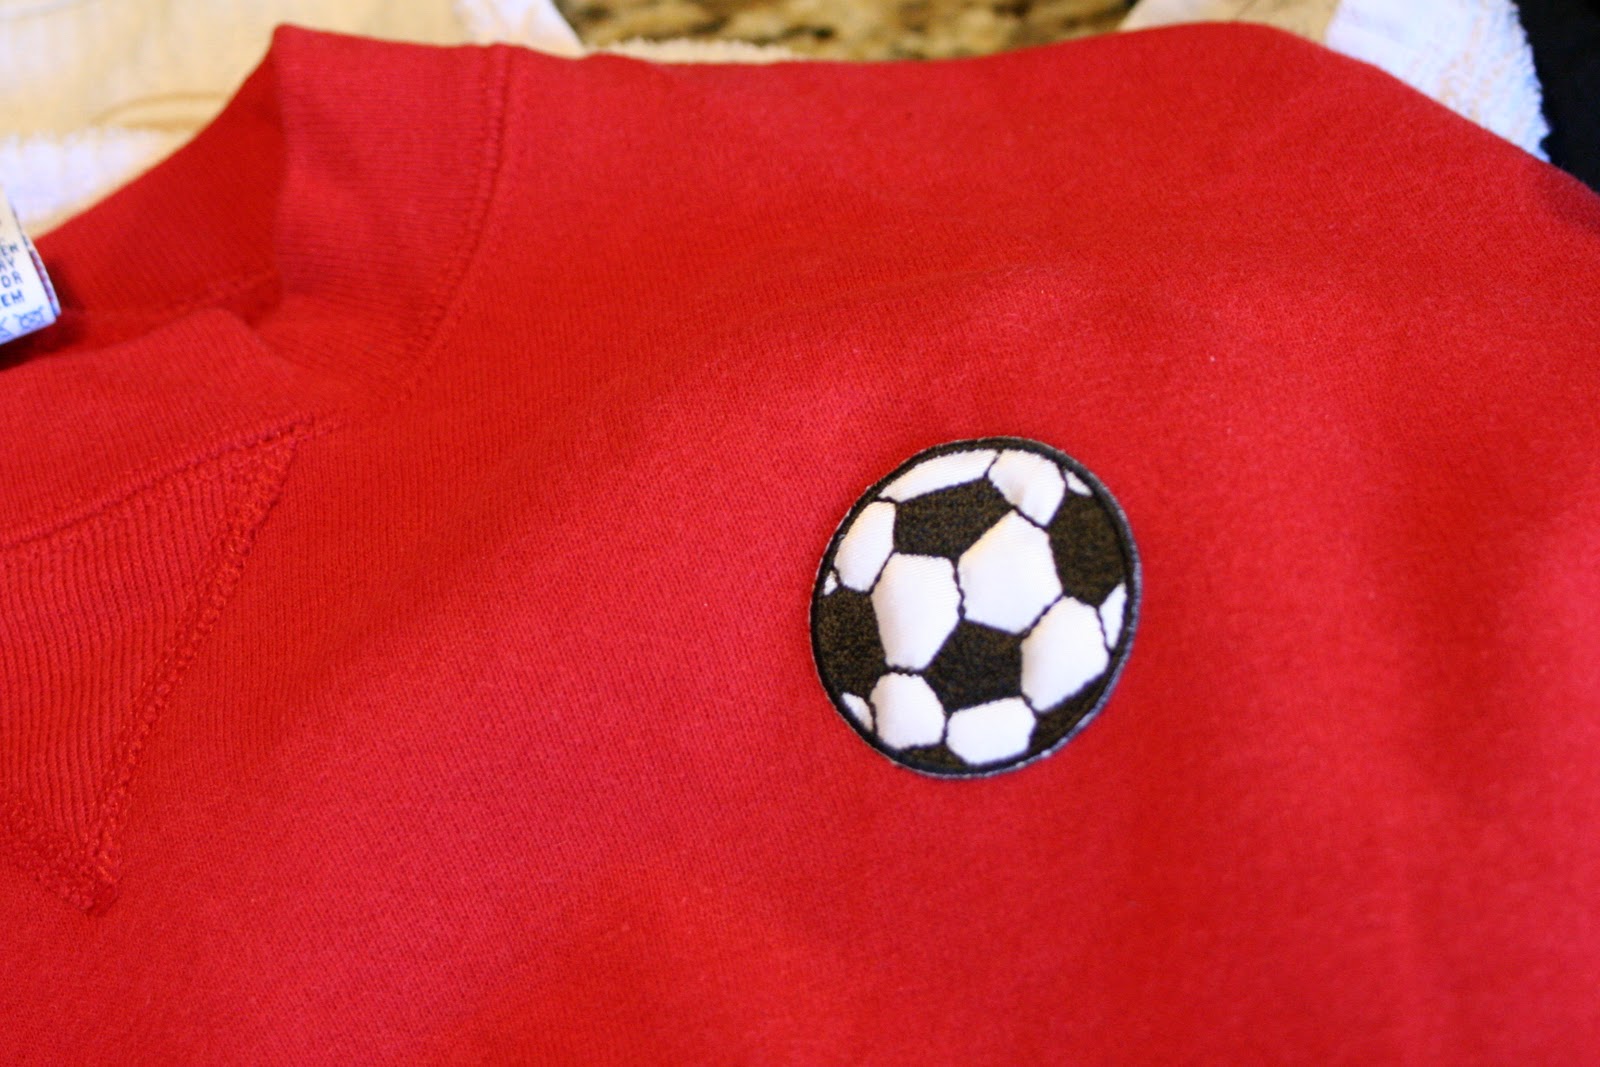
Place the patch where you desire. Place a cloth (dish towel) over the patch, iron on top of the cloth and press down for about 15 seconds.
Then flip the shirt inside out, and repeat the process, holding the iron down for about 25 seconds.
Ta - Da! 2 "cool new" sweatshirts for my little guys. I washed and dryed them in the laundry and the patches stayed on perfectly. Yippee ... new clothes!
The challenge is to make it seem new to my boys. Yes, they enjoy the "new" clothes, but sometimes would like them to look a little different. HENCE .... iron on patches!!!
I have some really great sweatshirts, Russell, that are simple and plain.
I went to Michaels and bought 2 packs of iron on patches @ $2.99 per pack. I mean ... really?! S.O. Chaaaa-eeeap!
This is so very simple. Heat your iron to the hottest setting
Place the patch where you desire. Place a cloth (dish towel) over the patch, iron on top of the cloth and press down for about 15 seconds.
Then flip the shirt inside out, and repeat the process, holding the iron down for about 25 seconds.
Ta - Da! 2 "cool new" sweatshirts for my little guys. I washed and dryed them in the laundry and the patches stayed on perfectly. Yippee ... new clothes!
Wednesday, November 3, 2010
Dollar Store and a Glue Gun
Hi Crafties! So I've seen this done like 62 times on other blogs and and have wanted to do the same thing. Sorry I'm not giving everyone props on this but definitely saw it on Decor Chick's blog. Regardless, a super easy project and a minimal investment. That gets a big fat MCA (moms crafty approval)!
These cute lil' glass vases are at Dollar Tree and so are the tall glass candle holders. I needed something with a lil' height on our mantle but didn't want to distract from our lovely Winston painting so I kept thinking I’d keep it simple with some glass. The glass would do a little reflecting as well and brighten up the space above our fireplace. The idea is to put the two pieces together. So far I’m digging it!
I can already see Christmas fillers all over the place. (P.S. I’m a Christmas freak. I love it for so many reasons and having our house decorated and smelling like a fresh cut pine is sheer happiness!) Enough about Christmas, it’s not even Thanksgiving!
These cute lil' glass vases are at Dollar Tree and so are the tall glass candle holders. I needed something with a lil' height on our mantle but didn't want to distract from our lovely Winston painting so I kept thinking I’d keep it simple with some glass. The glass would do a little reflecting as well and brighten up the space above our fireplace. The idea is to put the two pieces together. So far I’m digging it!
I can already see Christmas fillers all over the place. (P.S. I’m a Christmas freak. I love it for so many reasons and having our house decorated and smelling like a fresh cut pine is sheer happiness!) Enough about Christmas, it’s not even Thanksgiving!
Little bit of hot glue around the rim
Let it dry upside down
Shut your mouth ... How cute?!
Easy as pie! The Dollar Tree rocks! Total project cost $4. Wow! :)
Katie
Monday, October 11, 2010
Best Curtains EVER!
Earlier this summer, I decided that I couldn’t walk through our dining room again and see the scuffs on the walls, paint chipped off the trim and the chocolate paint drops all over the ceiling. It had to go! 5 or 6 years ago, my husband and I (...then boyfriend living it up in the frat pad, a.k.a our house) painted our dining room. It went from a lovely peach color (nag) to a Ralph Lauren suede tan. The ceiling was done in chocolate suede and at the time it looked pretty good! P.S. We will never. ever. ever. paint a ceiling again. We did an awful job! Our poor room screamed for a professional to come in and take over!
6 years later… We finally had our dining room repainted and the new curtains I used in there are fab-u-lo-so! My decorator friend, Emy, recommended these curtains from IKEA. I’ve got to give her all the glory! LOVE THEM! They are $19 for a pair and they are glorious. I doubled it for extra fullness using 4 panels per window. What a mean bargain for such great looking curtains! They’ve got a yummy texture and they just soften up the space so well. They come with a hemming strip you can iron on (easy as pie) but I just wanted them to be casual and didn't touch them. IKEA RITVA CURTAINS
I didn’t use the tiebacks. Also, I already had the drapery rods from Home Depot from the last curtains so I don't count that in pricing (good justification, eh?). I bought some of the rings from Home Depot and think a pack of 12 is about $14. You can go Pottery Barn for rings if your budget allows as well.
If you’re looking for great curtains at a much affordable price, IKEA's got your back!
Have you tried these curtains? You likey? What’s your favorite curtain steal/deal?
Katie
Thursday, October 7, 2010
Can a laundry room be a HAPPY place?!
What the heck is this mess??? Ummm....my laundry room. Yes, I have 4 boys, but this is embarrassing. I cannot believe I am posting this. Sigh. ;)
I bought 4 stackable white bins at Dollar General for $4 each. Then I wrote each of the boys' names on a bin with a blue paint pen. (Oldest on top because he is tallest ... but the other ones were upset that theirs was not on top. Seriously?)
Hang it & a place for back packs. 4 hooks, 4 boys! Yeah.
Still inspired ... kept going.
So the problem is obvious. I make them take off their shoes when they come inside. The shoes end up in a mountain of mess. Ewwwww.
Mornings consist of looking for their shoes in this pile. Annoying on many levels. :)
Being the obsessive organizer that I am, I decided to make this room a happy place! I bought 4 stackable white bins at Dollar General for $4 each. Then I wrote each of the boys' names on a bin with a blue paint pen. (Oldest on top because he is tallest ... but the other ones were upset that theirs was not on top. Seriously?)
I was inspired ... so I kept on going. The boys hang their backpacks in the kitchen on a drawer knob. Cute and functional, but it gets in the way of me being able to get things out of the lower cabinets. This is where they normally hang ....
I bought this over the door hanger at Target for $15. Love it. In my laundry is the hot water heater with a cabinetry access door.

Still inspired ... kept going.
What should I do with the millions of baseball hats they leave in the laundry room, floorboard of the car, under the couch, etc.? HOOKS!! Target!
I bought these 3M hooks that have the sticky tape on the back. The tape peels off the wall with no damage to your sheetrock (my construction hubby says "yeah"). Got a 6 pack for $8. They have different weight limits available. I got hooks that could hold 2 lbs.
Arrange them as you wish. TIP: Put a hat on the one up top before you place the bottom hook. Then you KNOW you will have enough room. The directions say to place the hook on the wall and PRESS HARD for 60 seconds. Then WAIT ONE HOUR before you put anything on the hook. Target also has BIG HOOKS that can hold up to 40 lbs. Put them on a wall and hang your backpacks there.
6 hats (4 boys, Mom and Dad) next to the garage door, grab one on a bad hair day and go!
Organized and happy.
Subscribe to:
Posts (Atom)