Showing posts with label Painting furniture. Show all posts

Wednesday, March 2, 2011

Spring Painting Project

A Spring project is here!  

Turn this maple bed .....

And this maple armoire..... 
into something spectacular!  Maybe a black antiqued finish? 

This furniture is circa 1999 people.  1999! (Boy, that will make ya feel old, huh?!)  Yes, in 1999, I rather liked this maple look.  Now .... not so much.  However, I do like the style.  Just a little paint and sanding may do the trick. 

I will especially have to sand these parts ....


My boys decided to unleash their artistic abilities on my bed with the point of a geometry compass .... hmmmm.   No, these are not their initials.  This one above is "APSW" ... also know as "Andrew Pirranah Snow Wolf."  HAHAHA! I have no idea what that means? 

Where was I when they were doing this?  I was here ... in my second home.  I really should put a TV in here. 

So, here is the scoop  - I talked with my ever trusting paint store genius, Todd, and got the low down on exactly what I needed to do.  There are 2 options.

Option 1(This one takes longer):
Sand it a lot
prime it and wait for it to dry
paint it

Option 2:
Paint it with a premium paint that has a primer built in and NO SANDING!!!  (except for the initials carved everywhere)
Uh, I am definitely doing this one.  Yes, it costs just a bit more in the paint department, but is totally worth it in the time department. 

My plan is as follows:

Take the bed apart
Set up shop in the garage
Clean the heck out of the wood so sanding is not required! 
Paint the bed first (next week, paint the armoire)
Let it dry
Sand off some of the edges with a sandpaper block to antique the finish (If you decide to do this, Todd, aka paint genius, says you will need to get an oil based paint so you can sand the edges).

I am starting the project soon! 

Spring is here in Georgia and it is time to get outside, enjoy the weather and paint this atrocity!

Check in to see the progress.  Join me with your piece of furniture you want to refinish!
Amy

Thursday, February 24, 2011

Cheap dresser re-Do

Talkin about a cheap dresser .... this one takes the cake!  I think it belongs in an office. 


It lived in my sister's attic for 5 years.  Now I know why!  UGLY grey speckled laminate dresser - I think the previous homeowners left it there.  :)  It weighs a TON. 

However, times are tough in this recession and I needed a dresser for my 3 year old, Brady.  His clothes are in a plastic 3 stackable drawer system from Target, in his closet.  Yes, a good idea, but need more room.  Really?  Can I make this thing look better?!  It will be a stretch. 

Lets see .....

 Went to Home Depot and bought 2 cans of blue gloss spray paint (had to go back and buy 2 more).  Also bought 4 wooden knobs to add to the drawers. 
 This is after 2 cans of paint.  As you can see on the right side .... it looks like camofladge pattern.  Must get more paint! 
 I put the knobs on an egg carton and sprayed them several times at several different angles until they looked good and covered well. 
I measured corner to corner, at an angle, to find the center.  Then, I predrilled holes in the drawer and screwed in the knobs. 
This finished product is better that the previous product.  However, acrylic enamel will have to be brush painted on top of this if I really want it to be perfect.  That will come along in the Spring.  For now, this works great for Brady's room.  We have somewhere to put his clothes that is much better than 3 drawer plastic bins. 

Amy

p.s. The puppy has a name!  RENNIE - I have 4 boys who L.O.V.E. the University of Georgia Bulldogs football.  Rennie Curran played for UGA. 

Thursday, January 27, 2011

Paint Colors 101

Being a builder’s wife, I have been through some serious paint in my time!  I have painted every kind of TAN you can think of on walls, ceilings, trim, etc.  Some were great, some were super gross.   So, sharing my favorite colors with you is a must.
One thing you must know about paint – paint looks DIFFERENT in every room.  If you paint TAN in the kitchen with lots of windows, and you paint that same TAN in a room with one window, they will look different.   Solution: Buy a quart of the paint you like, paint a small amount on the wall. Then you will be able to make a better decision on the color to chose. 
MY FAVORITE COLORS: (insider secret ~ You can chose ANY color, from ANY brand, and have the paint store color match/mix it for you!)
BENJAMIN MOORE:

This is a great tan, goes with everything!  White Dove for trim goes great with this wall tan. 


Amazing color for TRIM


Beautiful deep and light at the same time


Beach bedroom color … WOW!  My favorite by far!!


This is a good creamy, not too gold, not too lemon, YELLOW (Yes, it is yellow!). 


SHERWIN WILLIAMS:


My TRIM color at home


My CEILING color at home – put a color, one chip down from your trim, on the ceiling to make room warm


My WALL color at home – THIS IS THE PERFECT TAN – goes with everything!


Best of luck with my favorites!  If you are in N Georgia, email us ... we know excellent painters that work for "Mrs. PaintRight."  momscrafty@gmail.com
Amy

Thursday, January 13, 2011

How to GLAZE painted furniture

After being trapped inside from the snow/ice storm in Georgia for the last 3 days (Yeah, Georgia is not prepared for winter weather, embarrassing), I decided to show you how to glaze a table. I previously painted this side table with Benjamin Moore #1564 Beach Glass in a flat finish.   
I used a can of glaze from a cabinetry shop .... but you can buy glaze at any home improvement store. 
Dip your brush, pull the brush up the side of the can to minimize amount of glaze on your brush, and paint the entire piece of furniture.
Wipe off the glaze with a cloth or paper towel.  Leave extra glaze in the cracks and corners for an antiqued look. I like to wipe the glaze in one direction then I wipe it in the opposite direction for more texture.   If it is not dark enough for you, let it dry a bit (10 min) and go back over using the same process.
As you can see below, the brown glaze gives a small hint of color in several directions.
Let the glaze dry overnight.  Next step is laquer or poly.  I used a laquer I had from the cabinetry shop ... once I started it became too sticky.  I suggest using a clear poly instead of laquer.  You can get poly at any home improvement store. Paint it on in a thin layer and let it dry overnight.  The poly will protect your piece from drink circles and scratches and will give it a slight sheen. 
Easy to do ... go paint and get crafty.
Amy

Monday, November 15, 2010

What should I make for the class art project?!

Hey Crafties!   Did you do your Fitness Friday workout???

Newest obstacle .... As the all unknowing Grade mother, I was thrown into a class art project with one week to figure out what to do, get the students to help make it, and turn it in.  WHAT?! 

Of course I was panick stricken ... ackkkhhh! 

So my brain started to churn and I remembered that my sister painted some stools for my boys' rooms several years ago.  They are precious!  Ah Ha ... thats a great idea.  Paint a stool.  Now, what can I paint that 26 students can say they helped paint?  Hmmmm ......  each student can use their fingerprints .... fingerprints can make bugs .... fingerprints that are ants .... ants like picnics .... ants like sugar.... sugar is sweet .... sweet is watermelon!  YEAH!!!  That is it!!!!!!

I have my idea.  Each kid brought $1 for the project.  I was able to buy a stool at Target and lots of acrylic gloss paint from WalMart. 

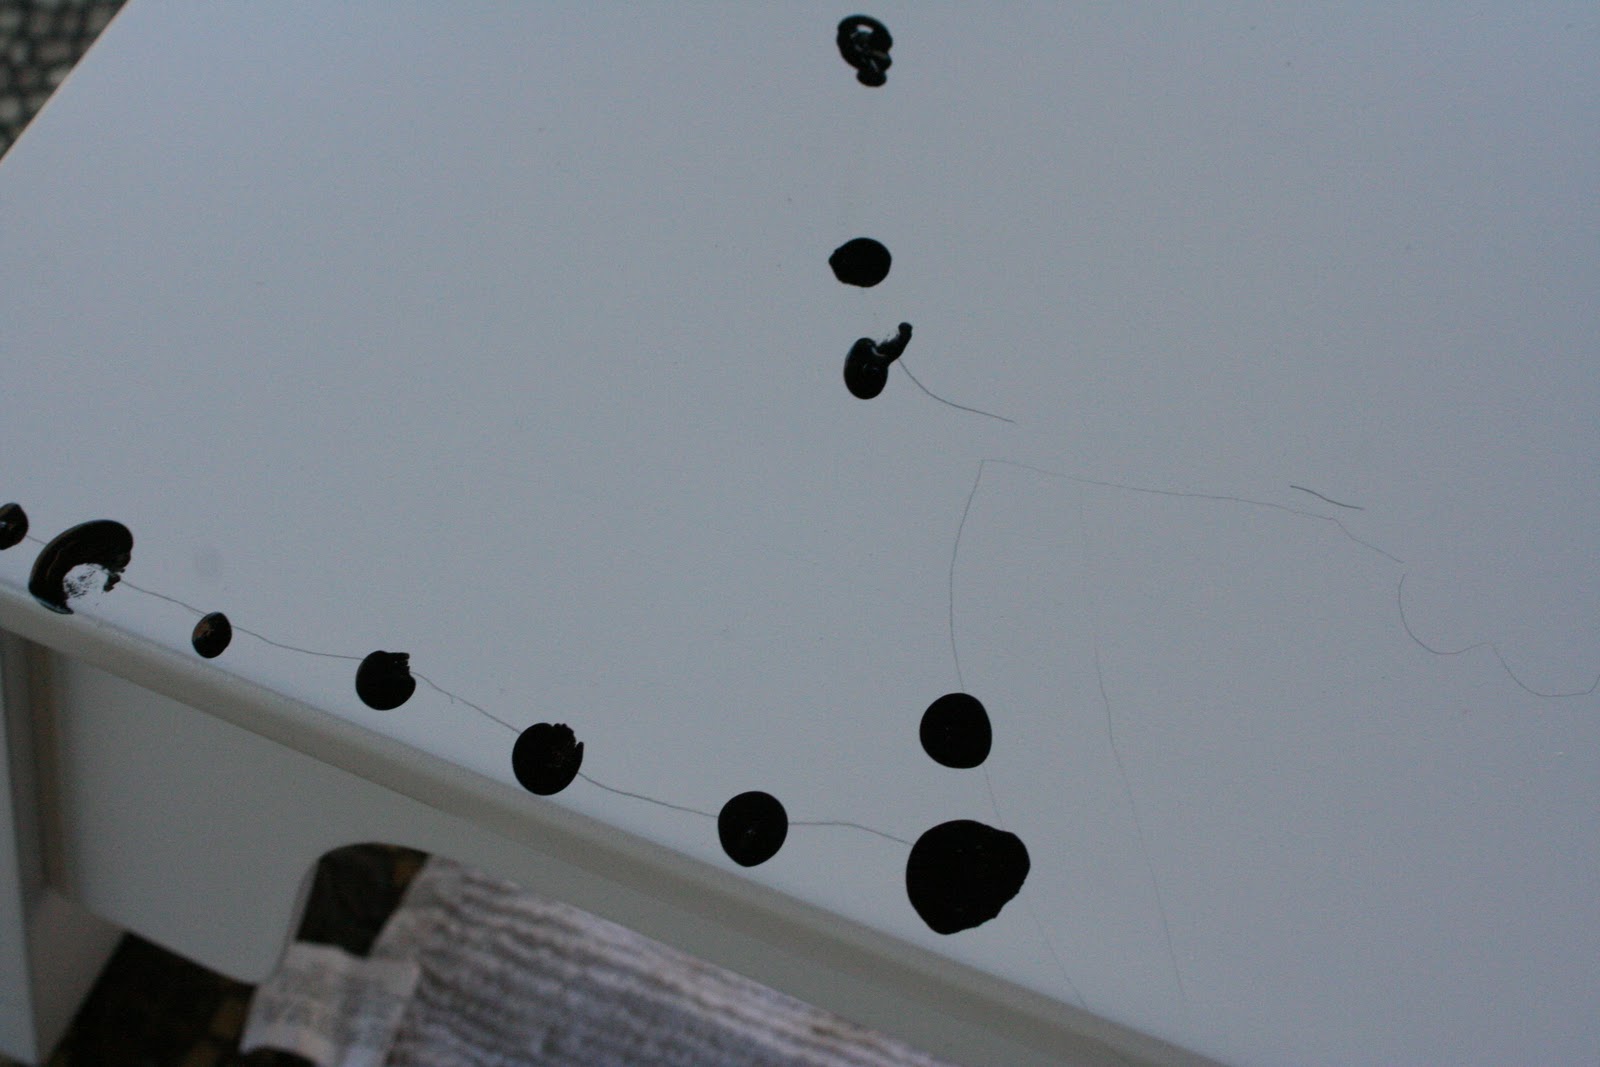
I sketched the watermelons and ant lines on the stool with pencil.  I wanted the students to see where the ants should be on the stool ... so I drew a line where they would put their fingerprints.  I had each student dip their pinky finger in black acrylic gloss paint and paint 2 of their fingerprints on any of the lines. 
As you can see, some of the ants are A LOT bigger than others.  LOL.  That is ok! 
Paint your initial layer of color, let it dry, repaint more layers until you like the consistency. 
 I added an ant hill on one side. 
Put a small black dot on each fingerprint for the ant's head.
Each head gets 2 small antenae with 2 small dots on top of each head.  I used a fine tip black Sharpie marker. 
Add 8 tiny legs on each fingerprint for the legs.  I used the Sharpie here too.
Add a few streaks of green and black for some grass for the ant hill. 
Add some black ovals in your watermelons for seeds. Erase your pencil lines! 
I sprayed it with Krylon Spray Paint Clear Gloss so the acrylic paint would not chip off.    
Maybe their class stool will get a good bid at the art auction!
Amy

Tuesday, October 26, 2010

Paint colors

Hey Crafties ... check out our new info on the PAINT COLORS tab.

Tuesday, September 7, 2010

Shabby Chic Table

Our house is the constant recipient of change. I get bored. Flip through catalogs. Go bargain shopping. Find a deal or get some good ideas, then come home and start messing with stuff. My poor husband has to get so sick of me buying changing stuff. Nevertheless, we have a long way to go to get our house 'finished' which we all know never happens. Meanwhile, I'm having boatloads of fun along the way trying!

Project #1: My stepmom and dad gave us this entry table when we got married years ago and as our furniture has grown, this piece no longer 'fit' what we had in the house. I know, I know...What a way to thank them for such a beautiful piece. I'm sorry parents. Please keep giving us furniture! It needed a face lift to match our style so hopefully they will approve. I love the shape and lines of the table and thought it could look pretty fab painted white and distressed. So last weekend, it got sanded, painted and sanded again! 


Pretty cute, eh?

I'm digging our old new entry table. I triple heart the lamp from Home Goods and please disregard random stuff in the bowl. Once I figure out how where to put keys,wallet, phones, stuff I'll let you know. The painting is one of my favorites but thinking it may need a new home. We've got an awesome mirror that recently met a can of Oil Rubbed Bronze paint and think it will look even better above this table. I'll post those pics soon!

Let us know what you think!