Showing posts with label Crafty. Show all posts

Monday, December 20, 2010

Christmas Ball Wreath

This is SO easy ... AND I saw it on The Today Show and thought, I can totally make that! 

Supplies:
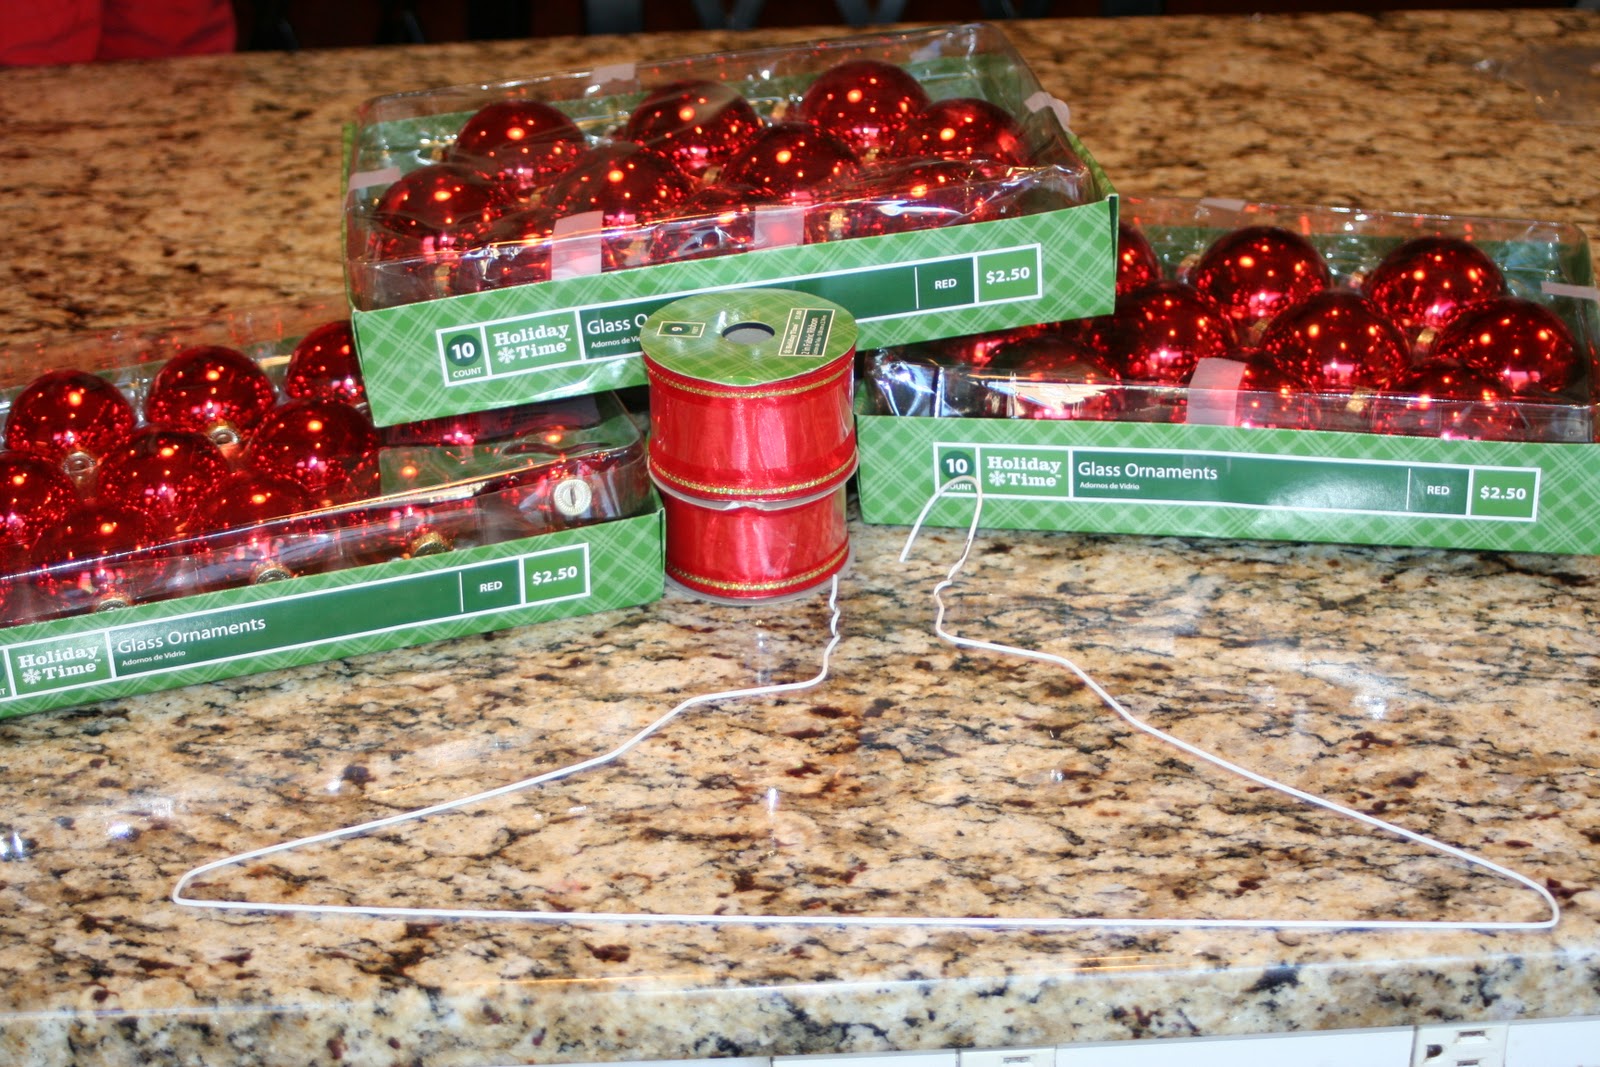
One wire coat hanger  
4 packs of Christmas balls in various sizes ($2.50 each @ Wal Mart - I bought 3, but had to get 1 more)
2 rolls of ribbon ($1 each @ Wal Mart)
Glue gun (I found out the hard way that I needed this!)


Follow the pictures!  So simple my kids helped! 


I found this out the hard way ... BEFORE you start putting the balls on the wire hanger ... put a little hot glue on the silver ball hanger to keep it attached to the ball.  Otherwise, when they start piling up on the wire, some of them may decide to fall off!  Yikes!


 Tie the coat hanger in a twist so it can hang on a nail.
Make a bow.  If you need a Bow tutorial ... Get a bread tie ready before you start.  Make a loop of ribbon on each side 4 times at various lengths and tie it in the middle with your bread tie.  Once it is assembled, you can fluff your bow to make it look pretty.  Use a lot of ribbon ... more is ALWAYS better on a bow.   A ribbon with a little bit of wire in the edge makes it easier to fluff.
I put 3 tiny glass balls on a bread tie to tie my bow.  Crafty!:)


Tie your bow and make a loop with your wire.  I looped a rubber band on the wire to hang it on a nail above my window.


So cute ... honestly ... I did not hot glue my hangers to the balls.  I wish I had because 6 fell off trying to hang this on the window!  Then it took me forever to find where the balls go in the stack.  Since it was placed here, above my kitchen sink, my son and I have made a bet: How many balls will fall off BEFORE Christmas?  His bet:10 ... my bet: 6. 

TOTAL SO FAR = 4.  Hot glue them! 


HO HO HO!!!
Amy

Tuesday, November 23, 2010

Turkey Pumpkin

Happy Turkey Day week!   This is a GREAT craft and decoration item for your Thanksgiving table.  It is not only cute, but easy for your little ones to make. 
(Props to our 5 yr old's Sunday School teacher for this one:)

 Simple construction paper .... cut a head and feathers ... write down what they are "thankful" for.
 I think he had some help on this one ... what happened to Dad?  He is more thankful for Santa this year than Dad!  LOL
Toothpick inserts into pumpkin.  Feather is scotch taped on to toothpick.

Simple and cute.  Now, go get crafty with your little Turkeys!
Amy

Monday, November 15, 2010

What should I make for the class art project?!

Hey Crafties!   Did you do your Fitness Friday workout???

Newest obstacle .... As the all unknowing Grade mother, I was thrown into a class art project with one week to figure out what to do, get the students to help make it, and turn it in.  WHAT?! 

Of course I was panick stricken ... ackkkhhh! 

So my brain started to churn and I remembered that my sister painted some stools for my boys' rooms several years ago.  They are precious!  Ah Ha ... thats a great idea.  Paint a stool.  Now, what can I paint that 26 students can say they helped paint?  Hmmmm ......  each student can use their fingerprints .... fingerprints can make bugs .... fingerprints that are ants .... ants like picnics .... ants like sugar.... sugar is sweet .... sweet is watermelon!  YEAH!!!  That is it!!!!!!

I have my idea.  Each kid brought $1 for the project.  I was able to buy a stool at Target and lots of acrylic gloss paint from WalMart. 

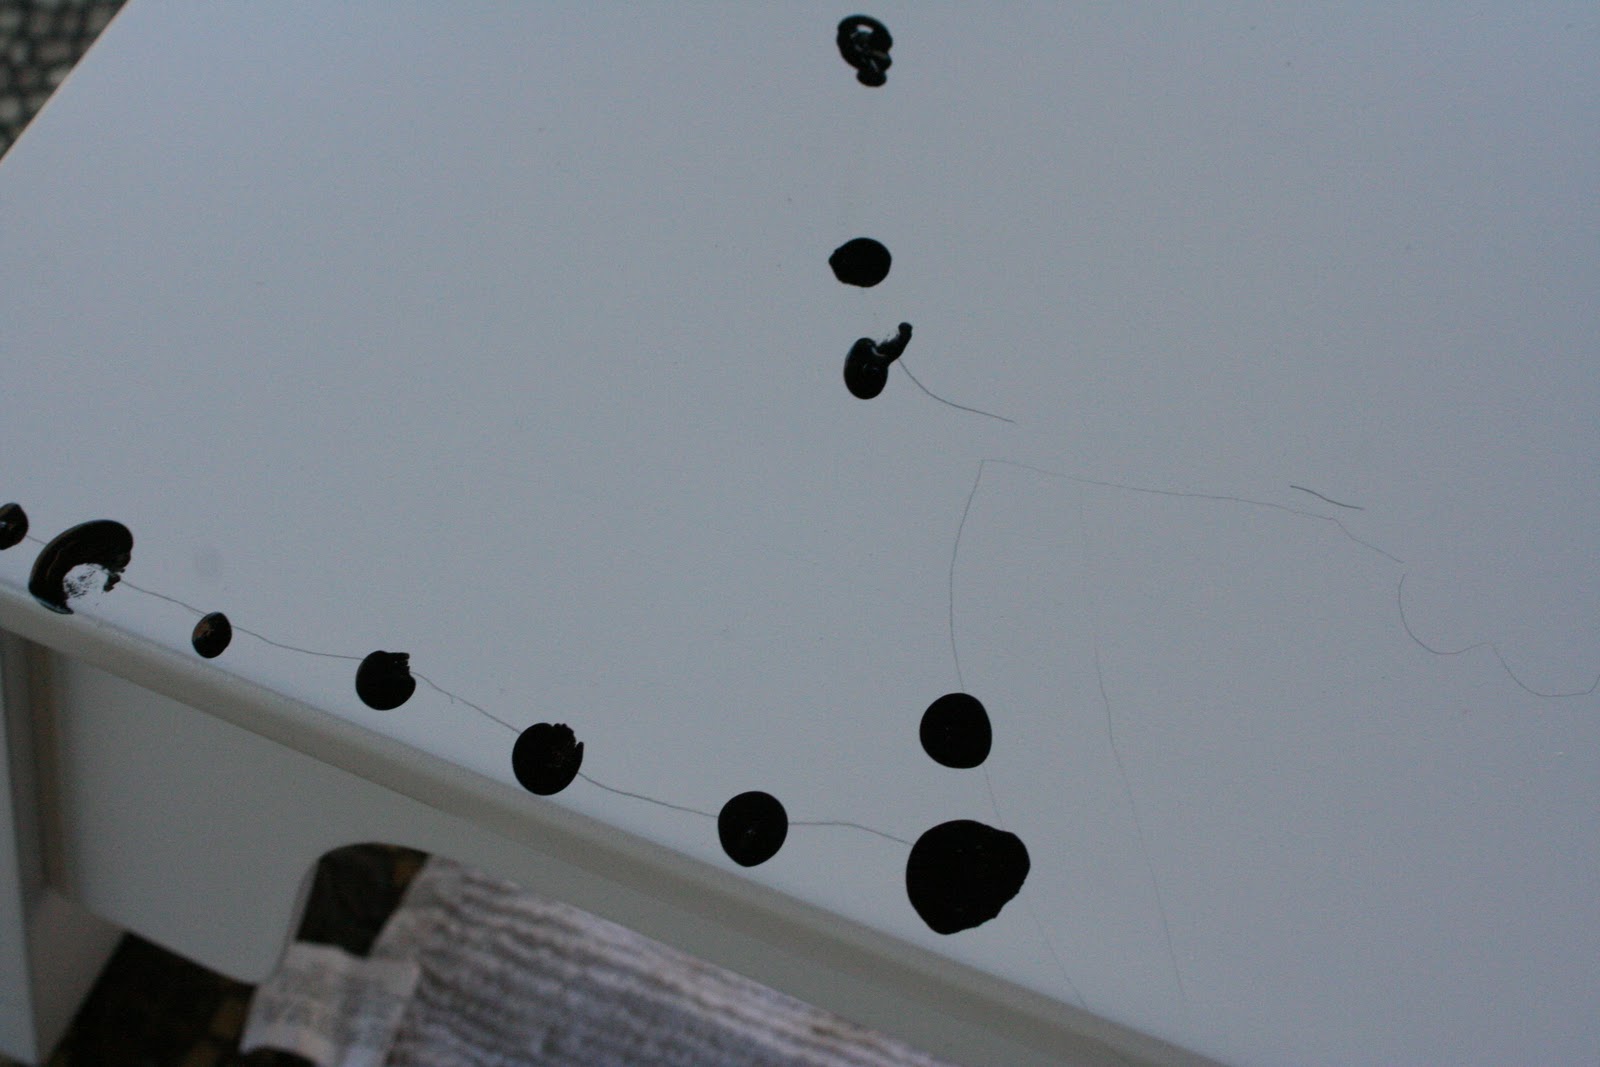
I sketched the watermelons and ant lines on the stool with pencil.  I wanted the students to see where the ants should be on the stool ... so I drew a line where they would put their fingerprints.  I had each student dip their pinky finger in black acrylic gloss paint and paint 2 of their fingerprints on any of the lines. 
As you can see, some of the ants are A LOT bigger than others.  LOL.  That is ok! 
Paint your initial layer of color, let it dry, repaint more layers until you like the consistency. 
 I added an ant hill on one side. 
Put a small black dot on each fingerprint for the ant's head.
Each head gets 2 small antenae with 2 small dots on top of each head.  I used a fine tip black Sharpie marker. 
Add 8 tiny legs on each fingerprint for the legs.  I used the Sharpie here too.
Add a few streaks of green and black for some grass for the ant hill. 
Add some black ovals in your watermelons for seeds. Erase your pencil lines! 
I sprayed it with Krylon Spray Paint Clear Gloss so the acrylic paint would not chip off.    
Maybe their class stool will get a good bid at the art auction!
Amy

Monday, November 8, 2010

"Hand-me-down" sweatshirt makeover!

With 4 boys, I LOVE hand-me-downs. I have several friends with older boys who send their clothes my way ... thank you, thank you, thank you! 
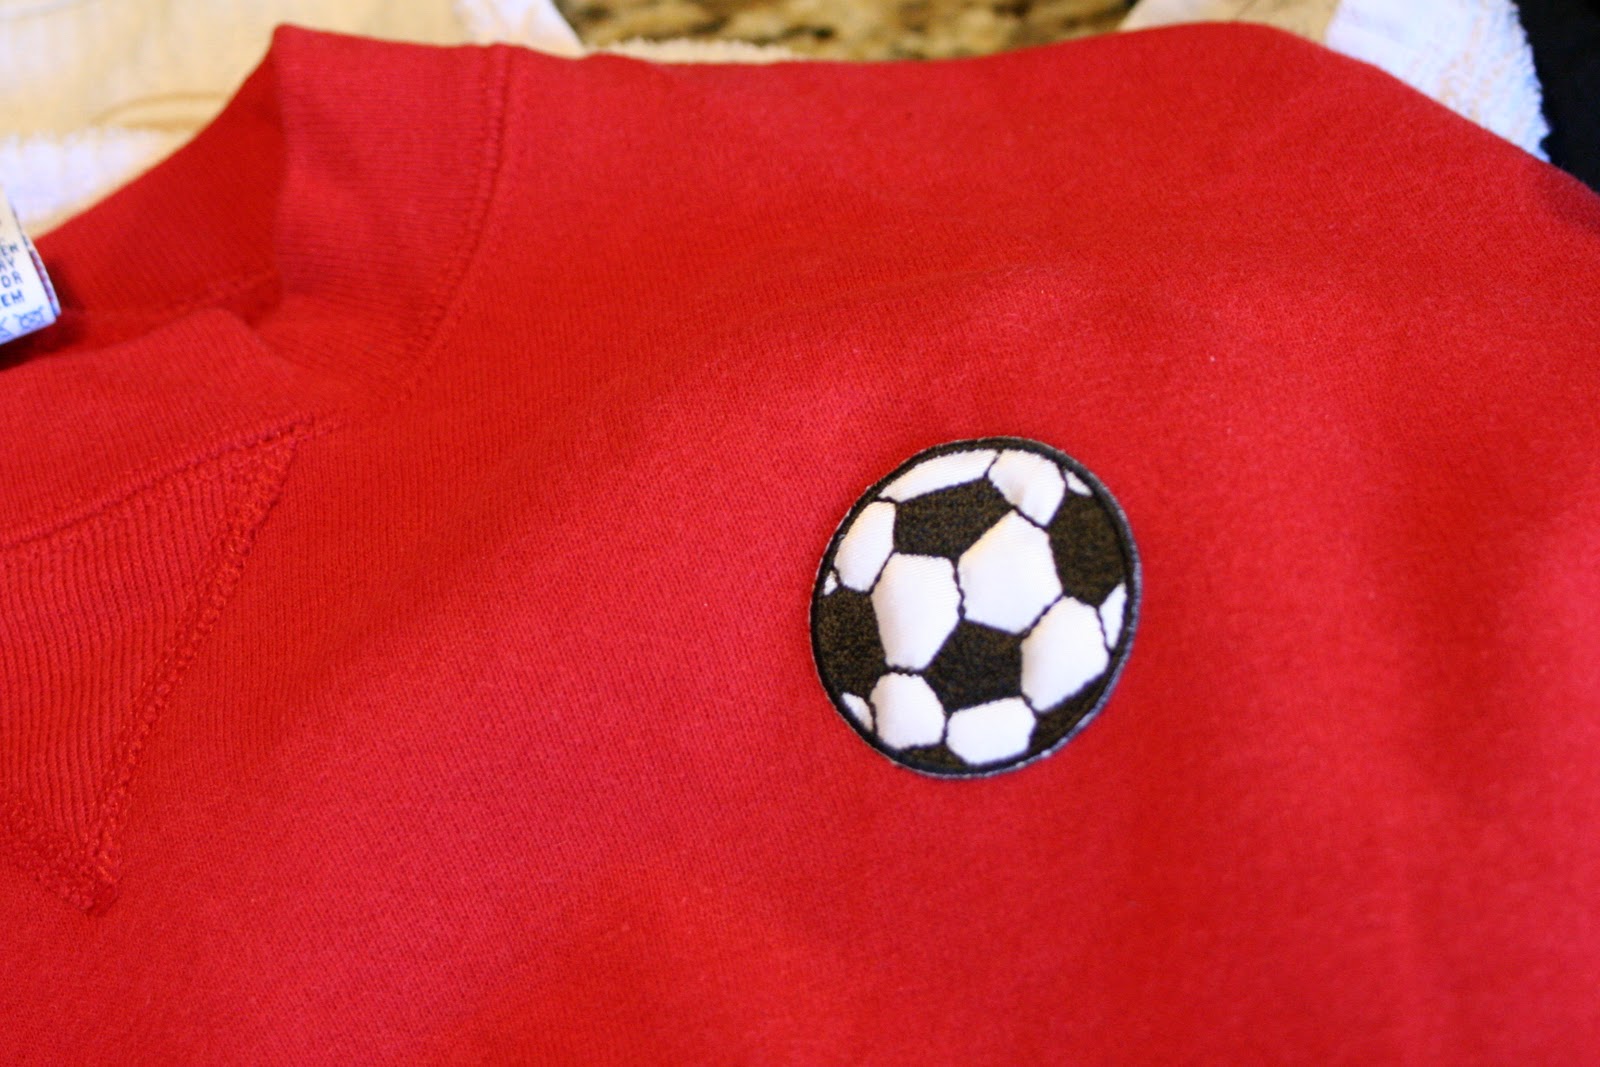
 The challenge is to make it seem new to my boys.  Yes, they enjoy the "new" clothes, but sometimes would like them to look a little different.  HENCE .... iron on patches!!!
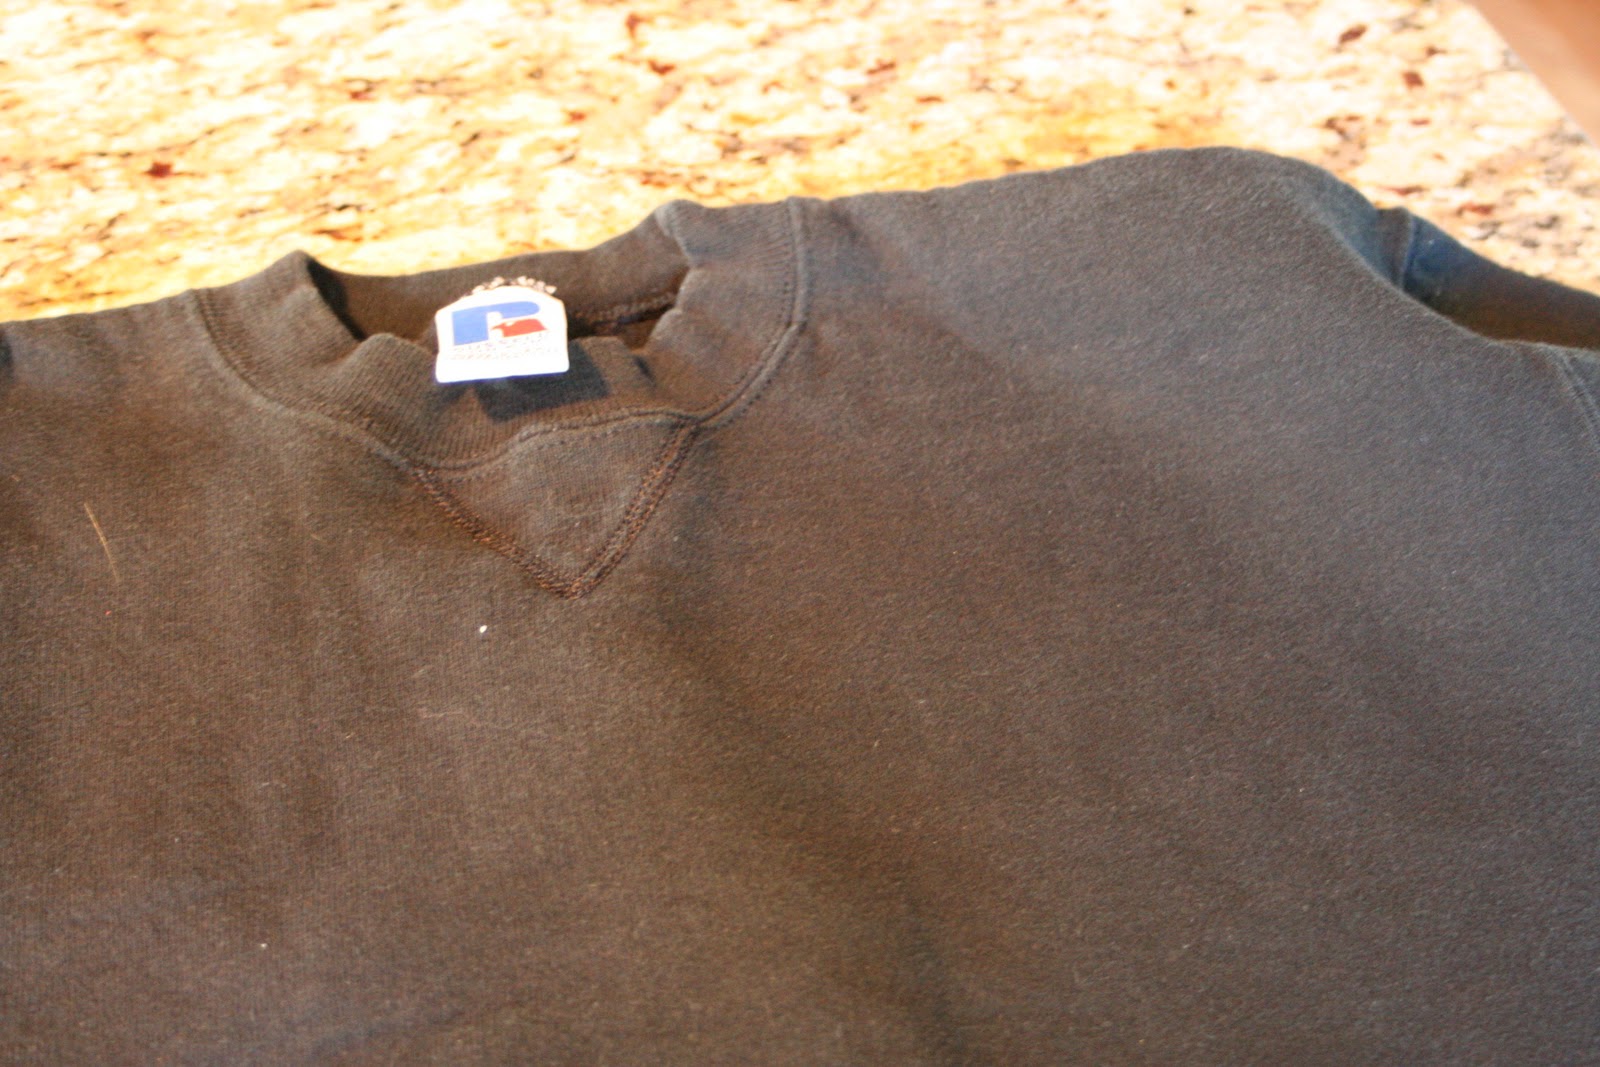
 I have some really great sweatshirts, Russell, that are simple and plain. 

I went to Michaels and bought 2 packs of iron on patches @ $2.99 per pack.  I mean ... really?!  S.O. Chaaaa-eeeap! 

This is so very simple.  Heat your iron to the hottest setting 


Place the patch where you desire.  Place a cloth (dish towel) over the patch, iron on top of the cloth and press down for about 15 seconds. 

Then flip the shirt inside out, and repeat the process, holding the iron down for about 25 seconds. 


Ta - Da!  2 "cool new" sweatshirts for my little guys.  I washed and dryed them in the laundry and the patches stayed on perfectly.  Yippee ... new clothes!